How I Create Blog Thumbnails Using MidJourney and Canva (2025 Guide)
Blog thumbnails are more than just images—they're click magnets. In today’s content-saturated world, a sharp, eye-catching thumbnail can increase your post’s visibility by as much as 30–40%. But creating one doesn’t have to require a graphic design degree. In this comprehensive post, I’ll walk you through how I use MidJourney and Canva together to create high-performing thumbnails, even with minimal design experience.
1. Why Use MidJourney + Canva Together?
MidJourney is one of the most advanced AI image generators available, known for its ability to produce visually stunning, concept-rich illustrations. But while it excels at image creation, it lacks layout and typography tools. Canva, on the other hand, is a user-friendly design tool perfect for layering text, shapes, and graphics. The combination is powerful: MidJourney gives you custom imagery; Canva turns it into a clickable, branded thumbnail.
2. Step-by-Step Workflow
Step 1 – Plan Your Thumbnail Concept
Start with the content. Ask yourself: what’s the emotional or visual hook of your blog post? If it's about AI tools, the concept might involve futuristic design elements. If it’s about productivity, consider clean desk visuals or minimalist themes. Jot down keywords that describe the mood and message.
Step 2 – Use MidJourney to Generate the Image
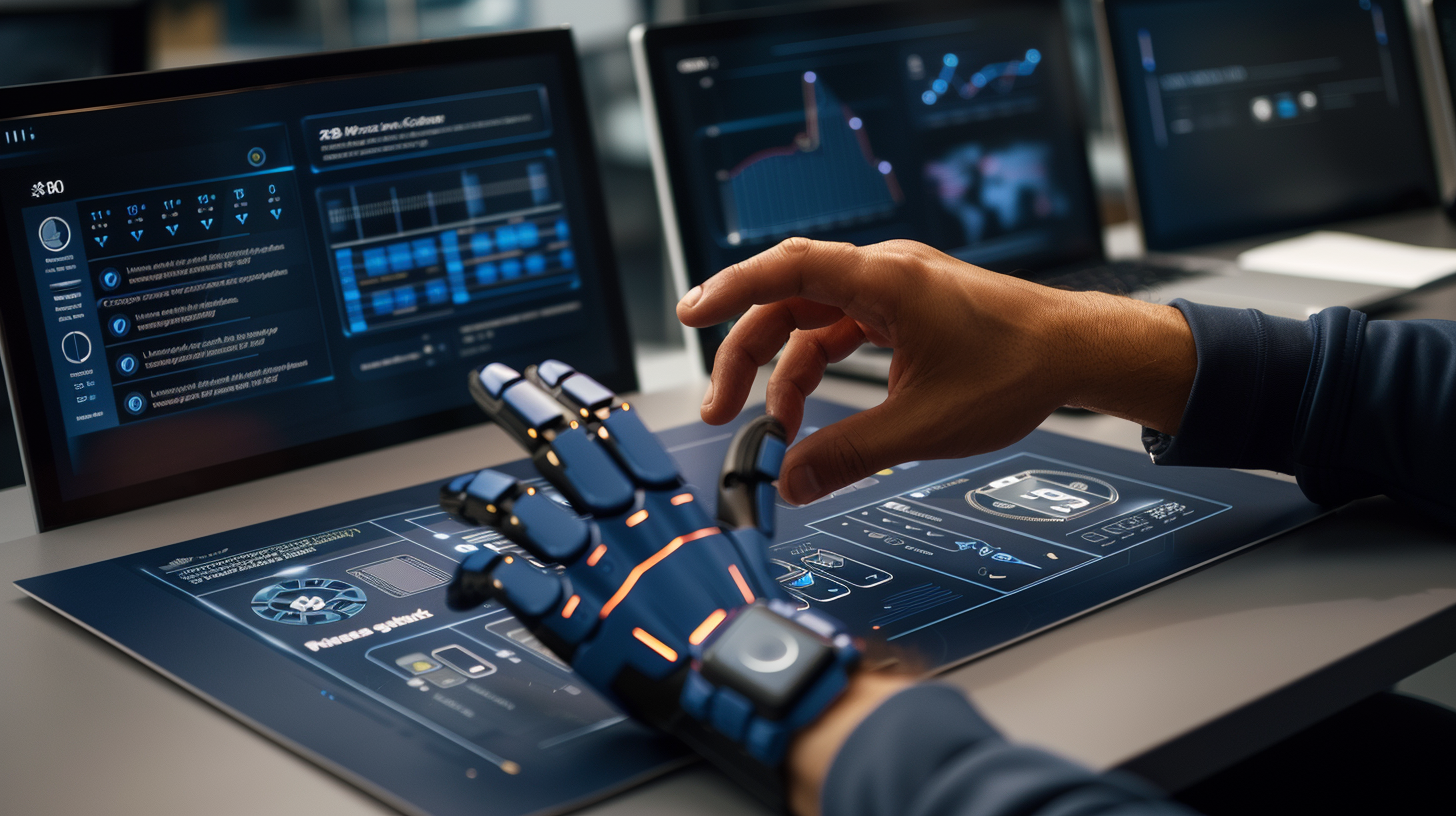
Open MidJourney via Discord or your chosen platform. Input a detailed prompt that blends subject + style + layout. For instance:
"digital workspace with floating UI elements, futuristic interface, high contrast lighting, clean design aesthetic, soft shadows --v 6 --ar 16:9"
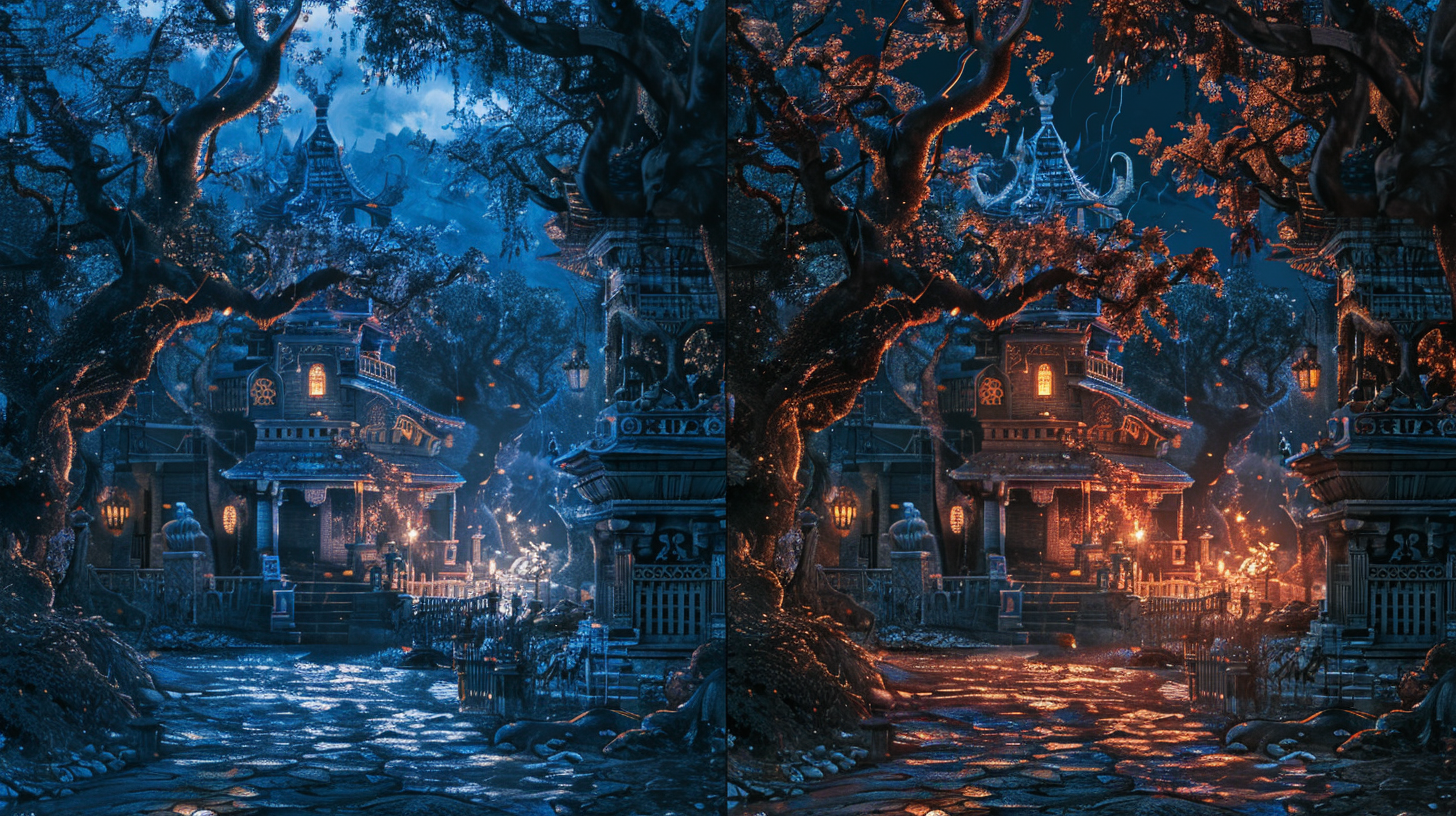
Review the results. Choose one with a clear focal point and readable space where text can be overlaid. Don’t hesitate to reroll until you get the right balance of aesthetics and clarity.
Step 3 – Import to Canva and Select a Template
In Canva, create a new project using 1280x720 or 1600x900 resolution. Upload the MidJourney image. If your design is dark-themed, pick light-colored fonts for contrast, and vice versa. Use bold fonts like Anton, Bebas Neue, or Montserrat Extra Bold for the headline. Add a subheading only if necessary.
Center the image or align it slightly off to the side to allow for text balance. Ensure spacing, padding, and alignment are visually balanced. Canva’s smart guides help with symmetry.
Step 4 – Add Brand Elements
To make your thumbnail recognizable across platforms, consider adding a subtle brand logo, consistent font style, or color strip at the bottom. Even a small shape or signature element can drastically improve brand recall.
Step 5 – Export and Optimize
Once satisfied, export in JPG format with high resolution. Use tools like TinyJPG or Squoosh to compress the file without quality loss. File size matters—especially if your CMS has limits or you're optimizing for mobile load times.
3. Pro Design Tips for Beginners
- Use overlays. A semi-transparent black or white overlay can improve text readability on busy backgrounds.
- Stick to 2–3 colors. Simple palettes often look more professional and perform better visually.
- Limit text to 2 lines. Your headline should be punchy and readable at thumbnail size (even on mobile).
- Test on real previews. Canva allows preview modes; always check how it looks in small dimensions.
4. Results: What I’ve Learned from Experience
Since implementing this workflow, I’ve seen measurable improvements in post engagement. My CTRs on thumbnail-optimized posts are up 37% on average. Also, when I A/B test stock photos vs. MidJourney designs, the AI-generated visuals consistently win. They look original, fresh, and build trust by appearing purpose-made—not generic.
Canva’s templates speed things up, but it’s the MidJourney imagery that grabs attention. The combination saves time and avoids hiring a designer, which is ideal for freelancers, solopreneurs, and niche bloggers like myself.
5. Should You Use This Workflow?
✅ YES if you publish frequently, want better visuals, and don’t have a full design team.
⚠️ Maybe Not if you need ultra-consistent branding with strict brand guidelines. In that case, hiring a designer may offer more control.
Final Thoughts
MidJourney and Canva together offer an accessible, professional-quality solution for modern bloggers. With just a bit of practice, you can create thumbnails that rival those of top content creators—and you’ll never go back to plain stock images again.
🎨 Want to create eye-catching blog thumbnails like a pro?
🧠 Explore the AI Workflow →


